Probably most of you have heard or visited hackathons. I'd like to tell you about the unusual one. CanonHackathon is a first projector hackathon in Poland, organized by Google Developers Group Warsaw and Canon. The rules were easy: teams had 24 hours to make a video mapping project.
The goal of CanonHackathon was to prove that video projectors can be used not only for watching movies.
Teams came up with different ideas. Above you can see the team that created an interactive art installation made out of 3 projectors and Arduino and a plant. Another team created a project that helped people to connect a lot of projectors together in an easy way.
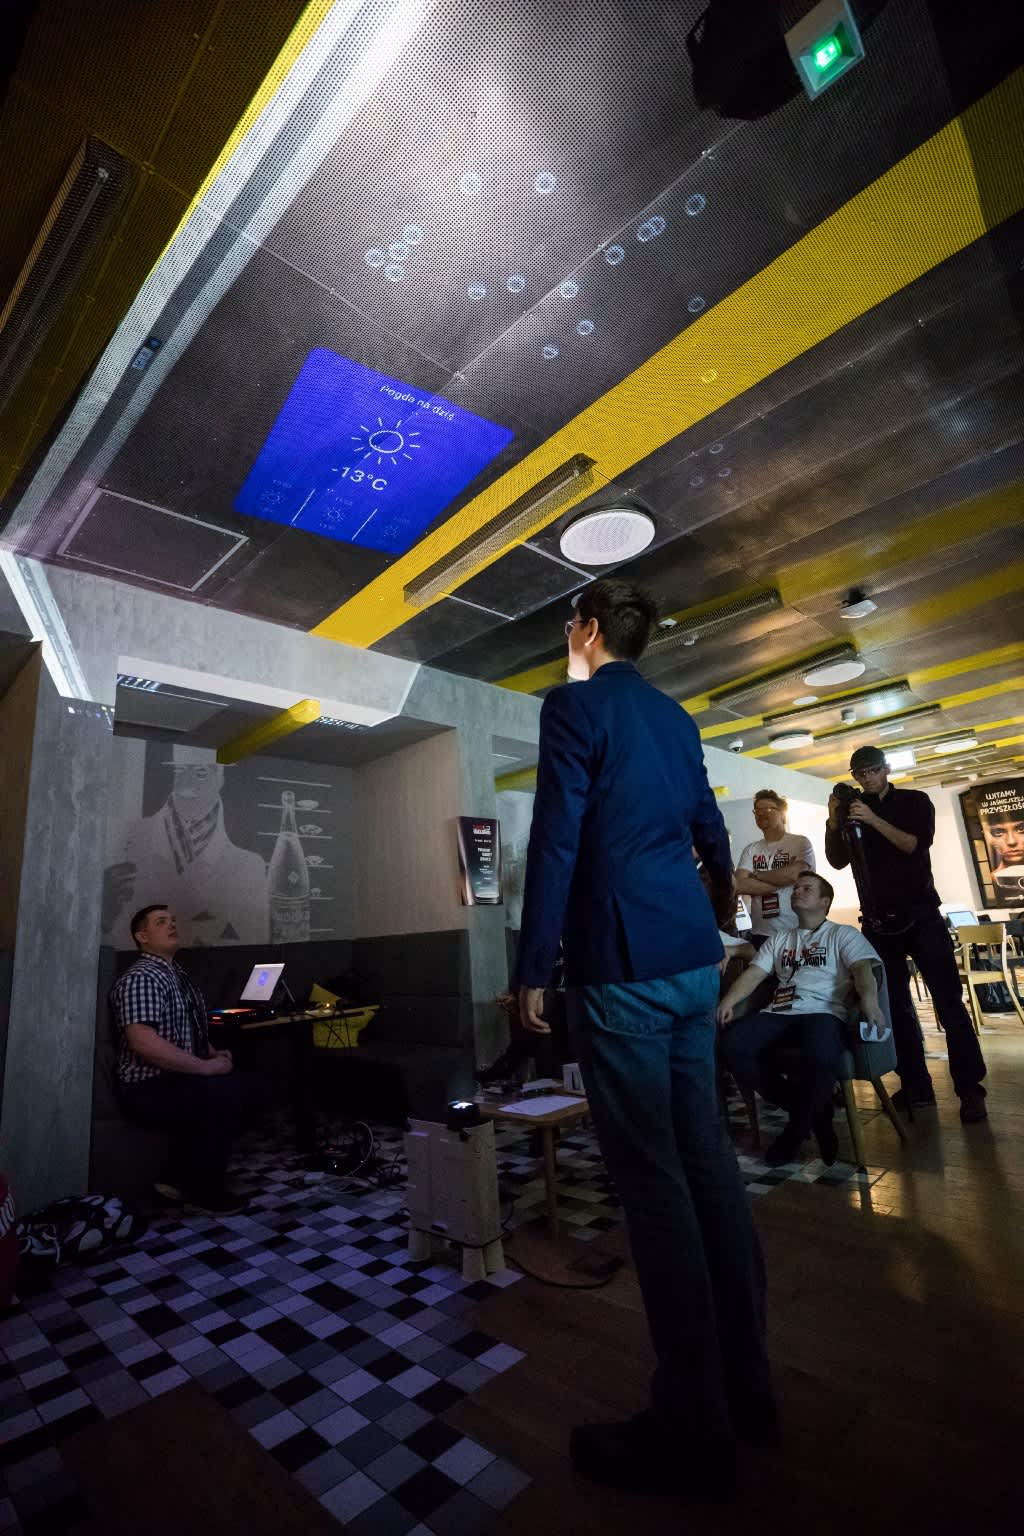
My favorite project used projectors for controlling smart home devices. Projector, Microsoft Kinect, and a team of smart people were the keys to success.
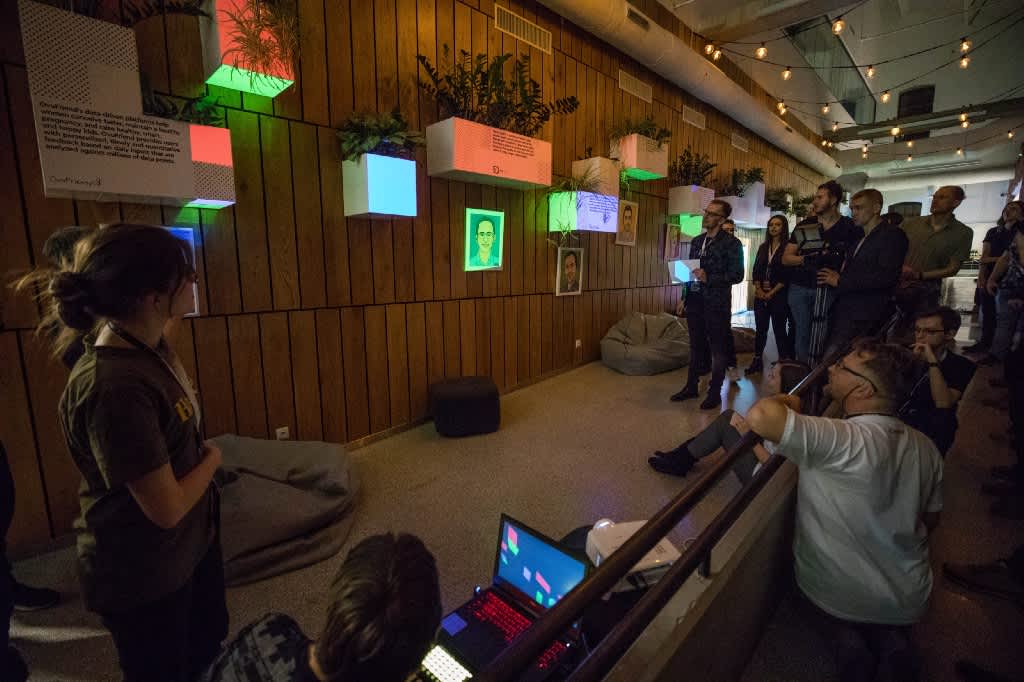
There was a team that created a music visualizer. Imagine yourself playing piano and your whole room changing colors and reacting visually to you performing. You could also play your favorite song and literally "see the beat".

Here we'll discuss the Instagram slideshow app we've created. It helps event organizers to make a slideshow with pictures that have a particular Instagram tag. Pictures are mapped on a cube, so it looks more interesting than just a flat wall, commonly used during events. A user doesn't need any PC. All you need is an Android phone and a Chromecast. In the next section, we'll overview the technical part of the application.
Let's make an app. Architecture setup
We'll use the InFullMVP library for implementing a Model View Presenter architecture in our app.
Setup Gradle:
1
2
3
4
repositories {
    maven { url 'https://maven.infullmobile.com/public' }
}compile 'com.infullmobile.android:infullmvp-kotlin:1.1.14'
testCcompile 'com.infullmobile.android:infullmvp-kotlin-basetest:1.1.14'
Moving, scaling and rotating imageView
Alright, now we have an MVP app with an empty activity. Let's give it some content.
Imagine yourself a cube in front of you. Projectors are displaying an image from your phone on this cube. And to fit a picture in a cube we have to move our picture around, scale it to make it fit in a cube, or any other object in front of you. So after it'll have the same effect as in the picture above. For that, we can use an open-source library called TNImageView.
Add the TNImageView library to your project. Add jitpack.io to your root build.gradle at the end of repositories:
1
2
3
4
5
6
allprojects {
		repositories {
			...
			maven { url 'https://jitpack.io' }
		}
	}
Include the following dependency:
1
compile 'com.github.AmeerHamzaaa:TNImageView-Android:0.1.2'Create an activity layout so it looks like this:
1
2
3
4
5
6
7
8
9
10
11
<RelativeLayout
   android:layout_width="match_parent"
   android:layout_height="match_parent">


   <ImageView
       android:id="@+id/slideShowImage"
       android:layout_width="100dp"
       android:layout_height="100dp"
       android:clickable="true"
       android:src="@drawable/ice_cream"/>
</RelativeLayout>
Now let's initialize a TNImageView:
1
2
3
4
5
6
7
8
9
class MainActivityView @Inject constructor() : PresentedActivityView<MainActivityPresenter>() {


    @LayoutRes override val layoutResId = R.layout.activity_main
    val slideShowImage: ImageView by bindView(R.id.slideShowImage)


    override fun onViewsBound() {
        TNImageView().makeRotatableScalable(slideShowImage)
    }
}
Our result:
Matrix transformation for imageView
Imagine a situation when a cube in front of you is rotated ~30°. Now we have to skew an image to fit. Here is how we do it.
1
2
3
4
5
6
7
private fun skewBitmap(src: Bitmap, xSkew: Float, ySkew: Float): Bitmap {
        val xCoordinates = 0
        val yCoordinates = 0
        val matrix = Matrix()
        matrix.postSkew(xSkew, ySkew)
        return Bitmap.createBitmap(src, xCoordinates, yCoordinates, src.width, src.height, matrix, true)
}
So now we can skew our ImageView
Fetching images from Instagram by tag name
Finally, we can fit our Instagram picture on a surface of a cube or a backpack for example. But our app is kind of boring because it has only 1 picture. Let's fetch images from Instagram by a tag and show it.
First, we have to get an Instagram Access Token. The fastest way is to use Elfsight token generation service: All instructions are here
1. Generate POJOs from JSON that Instagram returns you. Here is more info on how to do it. Your code should look like this, after removing all unused properties:
1
2
3
4
5
6
7
8
9
10
11
12
13
14
15
16
17
18
19
data class ResponseInstaByTag(
        @field:SerializedName("data")
        val data: List<DataItem>
)


data class DataItem(
        @field:SerializedName("images")
        val images: Images
)


data class Images(
        @field:SerializedName("standard_resolution")
        val standardResolution: StandardResolution
)


data class StandardResolution(
        @field:SerializedName("url")
        val url: String
)
2. Define API service interface:
1
2
3
4
interface InstagramApiService {
    @GET("tags/{tag}/media/recent?access_token=YOUR_ACCESS_TOKEN")
    fun getPicsByTag(@Path("tag") tag: String): Single<ResponseInstaByTag>
}
3. Initialize HTTP client Retrofit. The whole main module should look like this:
1
2
3
4
5
6
7
8
9
10
11
12
13
14
15
16
17
18
19
20
21
22
23
24
25
26
27
28
29
30
31
32
33
34
35
36
37
38
39
40
41
42
43
44
45
46
47
48
49
50
51
52
53
54
55
56
57
58
59
@Module
public abstract class MainActivityModule {


    private static String BASE_URL = "https://api.instagram.com/v1/";


    @MainActivityScope
    @Provides
    static Retrofit providesRetrofit() {
        return new Retrofit.Builder()
                .baseUrl(BASE_URL)
                .addConverterFactory(GsonConverterFactory.create())
                .addCallAdapterFactory(RxJava2CallAdapterFactory.create())
                .build();
    }


    @MainActivityScope
    @Provides
    static MainActivityView providesMvpView() {
        return new MainActivityView();
    }


    @MainActivityScope
    @Provides
    static InstagramApiService providesInstagramApiService(Retrofit retrofit) {
        return retrofit.create(InstagramApiService.class);
    }


    @MainActivityScope
    @Provides
    static Scheduler providesScheduler() {
        return Schedulers.io();
    }


    @MainActivityScope
    @Provides
    static GetPicturesByTagUseCase providesGetPicturesByTagUseCase(Scheduler scheduler,
                                                                   InstagramApiService instagramApiService) {
        return new GetPicturesByTagUseCase(scheduler, instagramApiService);
    }


    @MainActivityScope
    @Provides
    static MainActivityModel providesMvpModel(GetPicturesByTagUseCase getPicturesByTagUseCase) {
        return new MainActivityModel(getPicturesByTagUseCase);
    }


    @MainActivityScope
    @Provides
    static MainActivityPresenter providesMvpPresenter(
            MainActivityModel model,
            MainActivityView view
    ) {
        return new MainActivityPresenter(model, view);
    }


    @MainActivityScope
    @Binds
    abstract Context bindsContext(SampleMvpActivity activity);
}
4. Fetch images from Instagram:
1
2
3
4
5
6
7
8
9
10
11
12
13
14
15
16
17
18
19
20
21
22
23
class MainActivityPresenter @Inject constructor(
        private val model: MainActivityModel,
        view: MainActivityView
) : Presenter<MainActivityView>(view) {


    private var disposableApiService: Disposable? = null
    private val tagName = "sky"


    override fun bind(intentBundle: Bundle, savedInstanceState: Bundle, intentData: Uri?) {
        loadPictures(tagName)
    }


    private fun loadPictures(tag: String) {
        disposableApiService = model.getPicturesByTag(tag)
                .subscribe(
                        { imagesList ->
                            val links = imagesList.data.map { dataItem -> dataItem.images.standardResolution.url }
                            presentedView.startSlideShow(links)
                        },
                        { handleError(it) }
                )
    }
}
5. For starting slideshow we can use Interval
operatorObservable.interval(delaySlideshow, TimeUnit.SECONDS. It will run loadImage() method every 3 seconds. Please pay attention to that we first load a picture and after we make a skew transformation on it. Why? Because if we'll not transform picture, we'll lose the previous state of a transformation. Add this code to MainActivityPresenter
1
2
3
4
5
6
7
8
9
10
11
12
13
14
15
16
17
18
19
20
21
22
23
24
25
26
27
28
29
30
31
fun startSlideShow(urls: List<String>) {
        val delaySlideshow = 3L
        disposableTimer = Observable.interval(delaySlideshow, TimeUnit.SECONDS)
                .observeOn(AndroidSchedulers.mainThread())
                .map { getNextPictureUrl(currentIndex, urls) }
                .flatMap { url -> loadBitmapByUrl(url) }
                .map { bitmap -> skewBitmap(bitmap, skewX, skewY) }
                .subscribe(
                        { bitmap -> presentedView.showPicture(bitmap) },
                        { handleError(it) }
                )
    }


private fun getNextPictureUrl(urls: List<String>): String {
        if (currentIndex >= urls.size) currentIndex = 0
        return urls[currentIndex++]
}


private fun loadBitmapByUrl(url: String): Observable<Bitmap> {
        return Observable.create<Bitmap> { emiter ->
            Picasso.with(context).load(url).into(object : Target {
                override fun onBitmapLoaded(bitmapParam: Bitmap, from: LoadedFrom?) {
                    emiter.onSuccess(bitmapWithTransformation)
                }
                override fun onPrepareLoad(placeHolderDrawable: Drawable?) {}
                override fun onBitmapFailed(errorDrawable: Drawable?) {
                    emiter.onError(IllegalStateException("Bitmap loading has failed"))
                }
            })
        }
}
6. Show loaded and transformed pictures on a screen. Add this code to MainActivityView:
1
fun showPicture(bitmap: Bitmap) = slideShowImage.setImageBitmap(bitmap)
7. Always remember to dispose of disposables in a Presenter class to avoid memory leaks:
1
2
3
4
5
override fun unbind() {
        super.unbind()
        disposableApiService?.dispose()
        disposableTimer?.dispose()
}
8. Connect Chromecast to the projector. In your phone go to Settings -> Connected devices -> Cast -> Select your Chromecast.
So now we have a slideshow on almost any 3d object in our room.

Organizers have told that that's not the last CanonHackathon in Poland. A lot of teams had few ideas but had time to implement only one.
Have you ever tried to do some video mapping projects? Would you like to try? Do you find Instagram API easy to use? What would you change or add in that prototype app? Feel free to share your experience.

Jakub Dąbrowski
Content Specialist
